vscode image uploader(picGo+token)
vscode screenshot uploader setting by picGo + token
📜 제목으로 보기
vscode picGo setting
-
typora picGo 설정을 참고할 준비를 한다.
{ "picBed": { "current": "github", "github": { "repo": "is2js/screenshots", "token": "ghp_", "path": "", "customUrl": "https://raw.githubusercontent.com/is2js/screenshots/main", "branch": "main" } }, "settings": { "showUpdateTip": true, "autoStart": true, "uploadNotification": true, "miniWindowOntop": true }, "needReload": false, "picgoPlugins": {} } -
vscode 확장에서
picGo를 검색하여 설치한다.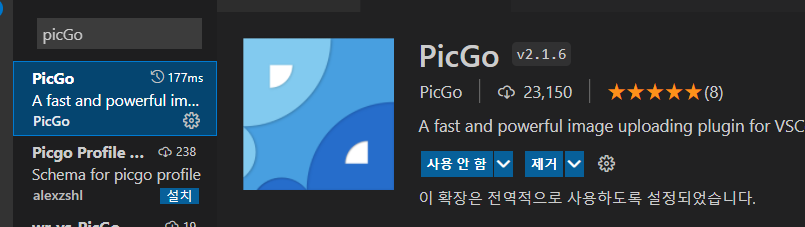
-
설정(ctrl + ,)로 들어가
picGo를 검색한다.-
Pic Bed: Current를github로 선택 -
Branch를main으로 선택main -
Custom Url을 계정/내 스크린샷폴더/branch를 입력한다.https://raw.githubusercontent.com/is2js/screenshots/main -
Path는 생략 -
Repo는 계정/내 스크린샷폴더를 입력is2js/screenshots -
Token은 typora설정시 받아왔던 github token을 가져온다.ghp_- 그외 설정은 비워둔다.
-
-
내 대문자변환 단축키
c+a+U과 겹친 기본붙여넣기 단축키를 따로 설정한다.-
ctrl + k + s 으로 단축키 설정으로 들어간다
-
upload를 검색하여 해당 picgo 업로드 단축키를 ctrl + alt + v로 설정해준다.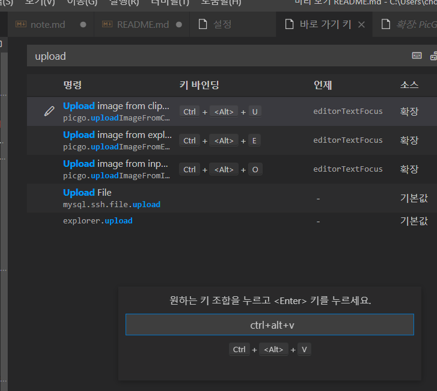
-
단축키
ctrl + alt + v(클립보드 그림 붙여넣기)
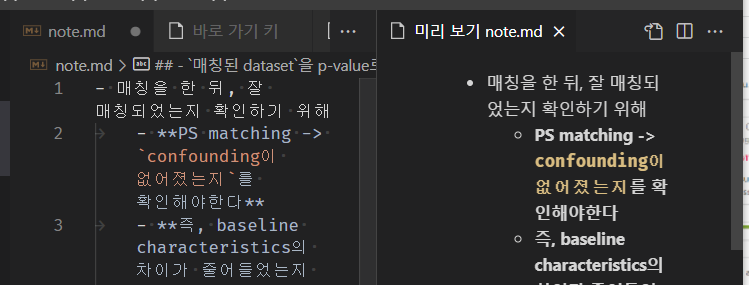
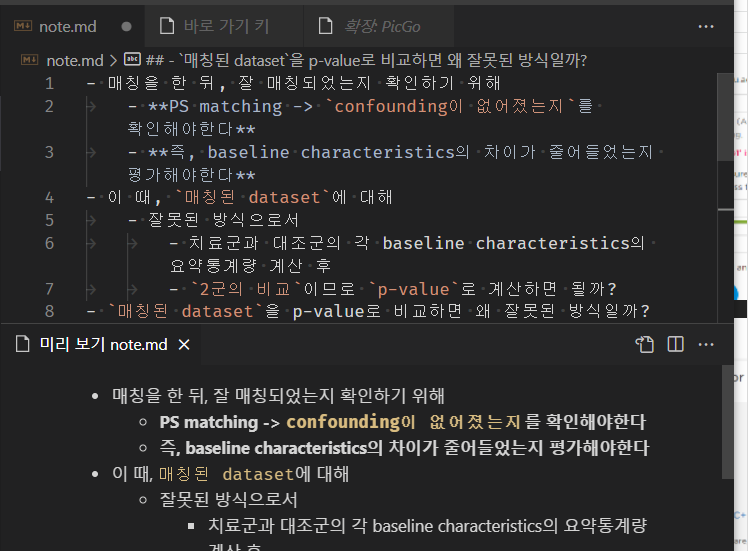
[ctrl + k] + v (측면 미리보기) -> shift+alt+0 (아래로 내리기)